Introduction #
There are many 3D prints that require multi-color printing. In this article, we focus on simple multi-color printing, using a single color per layer. A sign, a keychain, or text in general are particularly well-suited for this type of printing. As spring approaches and things begin to bloom again, gardening work also slowly but surely begins. To distinguish your seeds and seedlings well, there are great herb and vegetable labels for 3D printing. I am not trying to brag, but the most beautiful herb/vegetable-labels can be found here ;)

PrusaSlicer Using a Practical Example #
Software #
This article uses PrusaSlicer version 2.9.1.
Preparation / Assumptions #
I assume that PrusaSlicer has already been installed and used so that basic knowledge is available (slicing and printing an object). If you want to follow this article and reprint the herb-labels, a little attention is required: the layer height should match: 0.2mm, then the index of the layer of the filament change fits to the example (explanation follows).
Example #
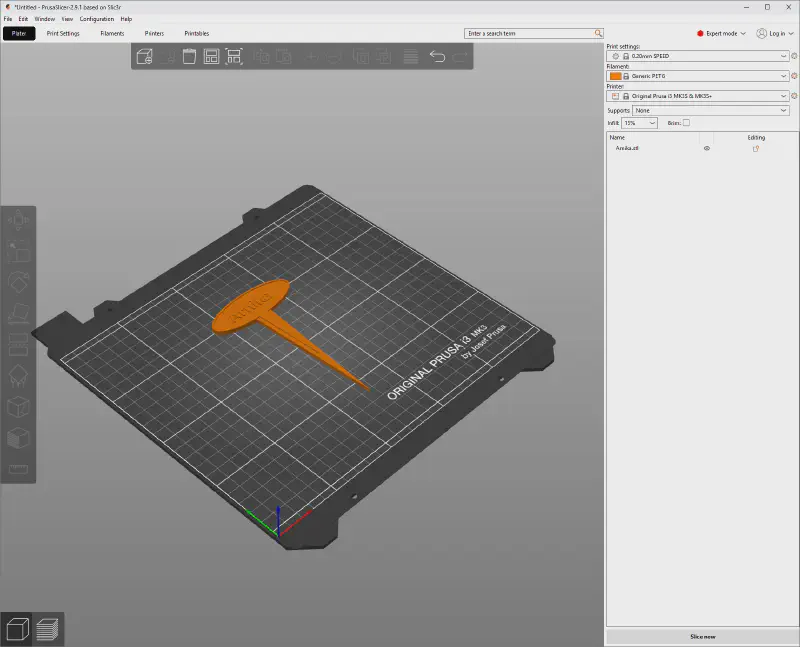
As an example, the most beautiful herb labels in the world are used. From the collection, the Arnika.stl file is used. Download and drag it into the slicer, then you should see the following view:
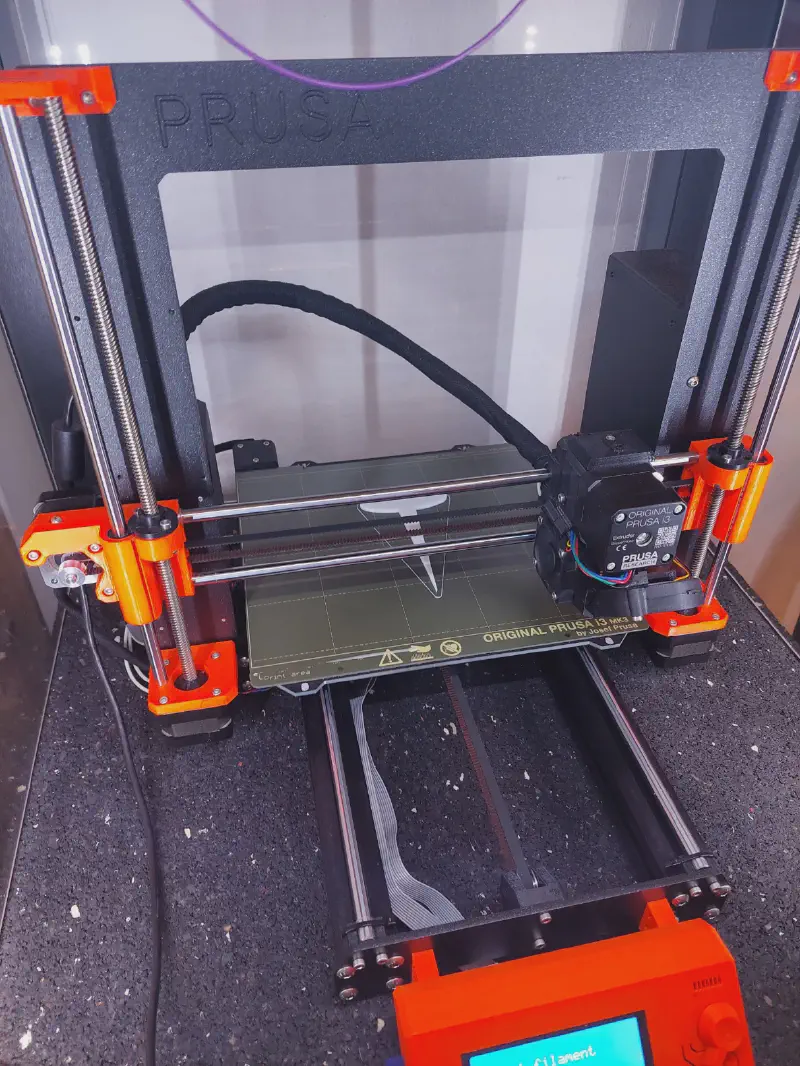
My material of choice is usually PETG, but I have also had good experiences with PLA for the herb labels. Be sure to use brighter colors of filaments, as the labels are exposed to direct sunlight.Darker filaments heat up more and can deform (PLA even faster than PETG). You can slice with your own settings as usual. I personally own a Prusa MK3S and almost exclusively use the included default print settings.
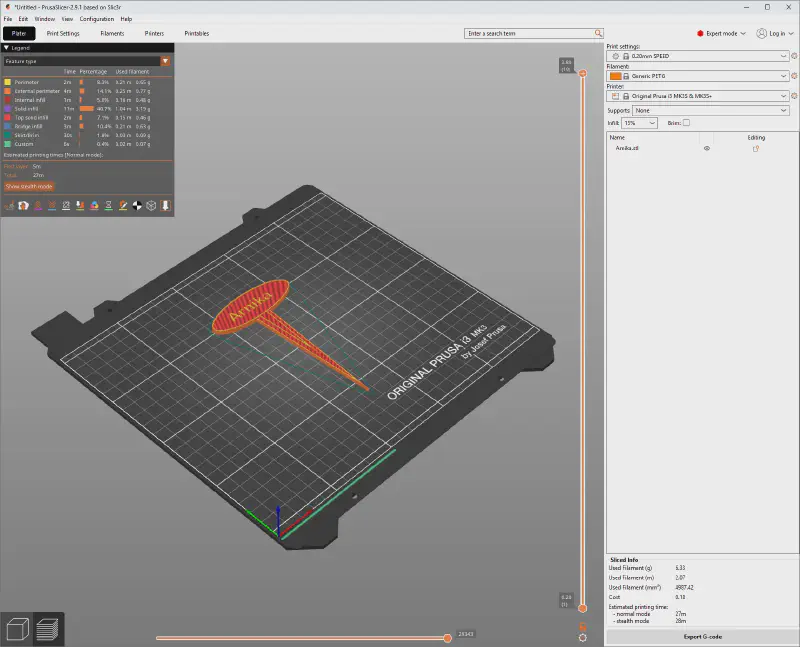
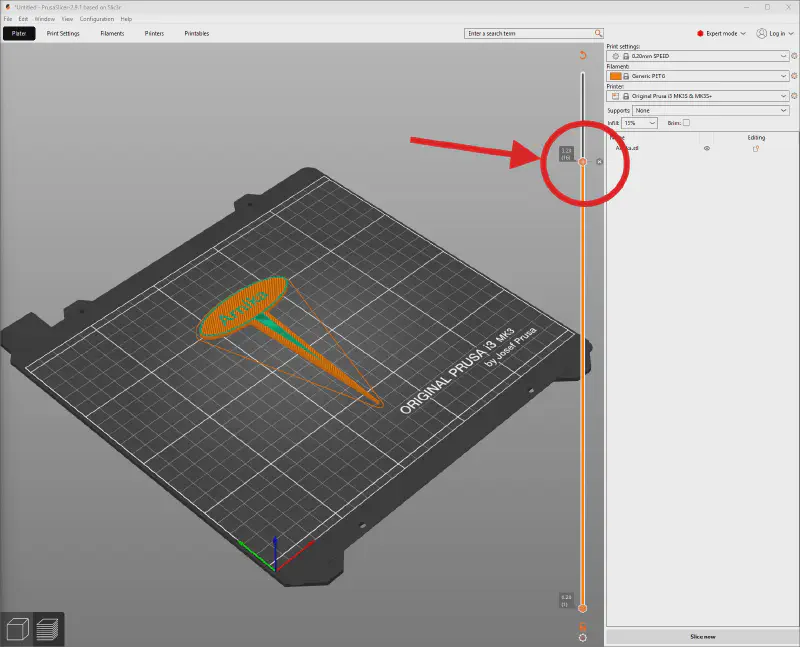
Up to this point, everything is still standard procedure. To configure a color change, you simply need to position the layer slider onto the desired layer and then click on the “+” (plus). In this case (layer height 0.2), you need to slide the slider to layer 16 or 3.2mm and then press the plus.
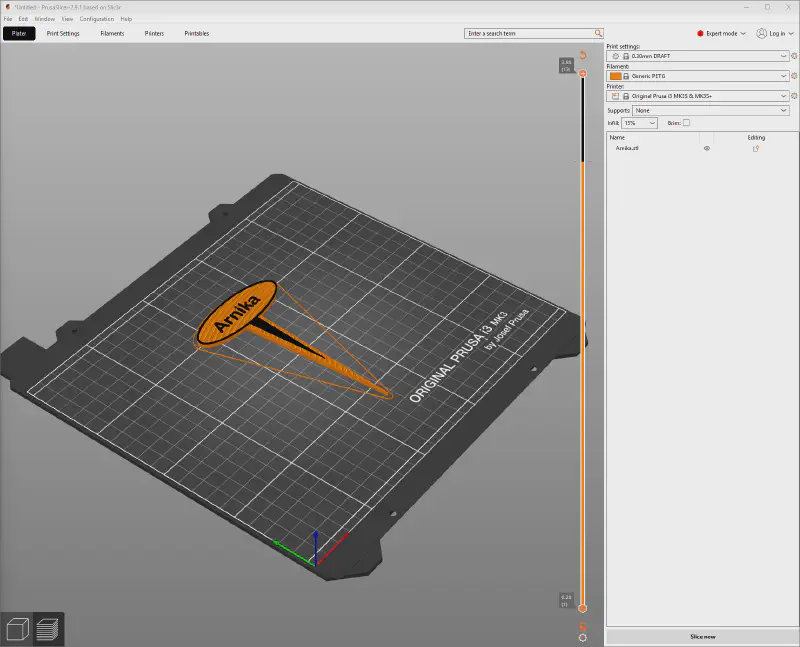
You can now clearly see that the lettering “Arnika” is displayed in a different color. The color doesn’t really matter, if it bothers you, you can change the color. A right-click on the green slider is enough to change the color as desired. Technically, at this point (after layer 15), the command M600 is sent to the printer. This command stands for a filament change. Now you need to slice one last time, then the G-code file can be used for printing.
If you use a layer height of 0.3mm, you need to make the filament change in PrusaSlicer at layer 11 (which corresponds to a height 3.2mm).
The Print #
The 3D print is started as usual. Make sure that the correct color is inserted or will be inserted. In my specific case, the base of the label is white. After a few minutes, the print head moves to the front right corner and starts beeping. The manual filament change is about to begin, and you will receive all the necessary instructions on the display, which you simply have to follow.
The current filament is ejected, and the new color (in my case, a beautiful violet) can be loaded. The printer extrudes a little filament from the nozzle so that all of the old filament disappear from the nozzle and printing can continue in the new color.
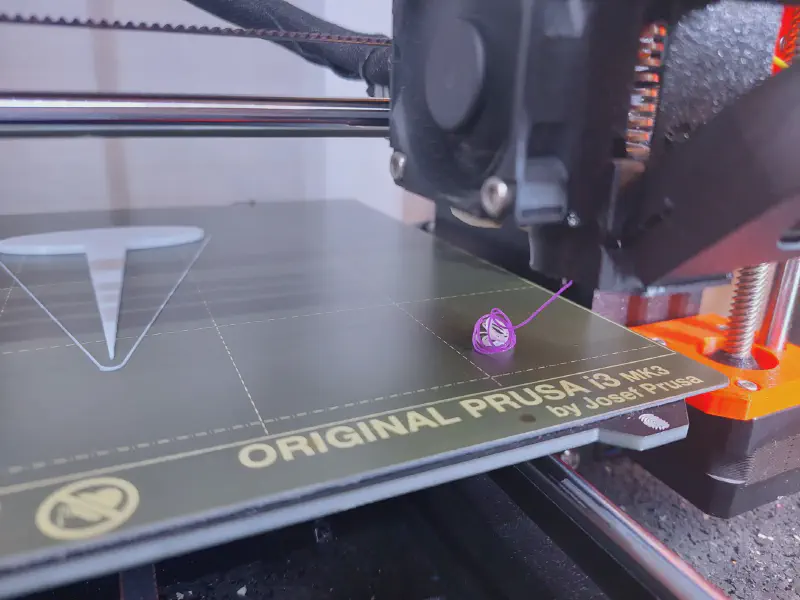
Once the loaded color is correctly extruded, the print can be continued. After a few more minutes, you will receive your beautiful herb/vegetable label and can successfully continue your gardening work.

For all those who want to print and use the labels themselves: Happy printing and good luck with your gardening work.